


I bought 2 packages of 12-foot lamp cord (with a plug attached), 6 2-inch sockets, steel nipples (no jokes here), and hex nuts. The plug attached lamp cord was the only clear/silver-ish cord I could find and it actually worked well because I used one of the plugs to test the chandelier after it was wired.

The steel nipples had to be cut down in half so they would not be too long for the chandelier, and it was easy to do with a jig saw with a blade designed for metal.

I loaded the nipple (just doesn't get easier everytime I type the word) into a clamp to hold it while I cut it. I wrapped it in paper towels so the clamp wouldn't squish the threading. One long nipple was easily turned into two shorter ones.


The lamp sockets have threading on the bottom of them that the steel nipple goes through (they are shown upside-down in the photo below). You then feed the wire through the nipple, into the socket. The sockets have a cardboard sleeve, and underneath two screws on them...a gold and a silver. The gold is for the hot wire and the silver is for the neutral wire. With the lamp wire I bought, the neutral half of the wire had a ridge on it to identify it, and the hot wire had writing on it.

I attached the socket to the lamp by putting the steel nipple through the hole in the chandelier, screwing the socket onto the threads on top, and tightening the nipple on the bottom with the hex nut.

I cut my wire into 6 sections, each long enough to attach to the socket, go through the arm up to the top of the chandelier, and have a little extra for connections. I left the 7th piece extra long (this will be the piece that goes into the ceiling) and for now left the plug attached to it. I pulled the lamp wire apart, stripped the plastic off about 3/4 of an inch at the ends, fed it through the steel nipple and up to the socket. The neutral wire (again, ribbed) went to the silver screw wrapped around the top of the screw like a hook, clockwise. Then I tightened the screw. I repeated this step for the other side of the socket, attaching the hot wire to the gold screw the same way and tightening the screw. I then replaced the cardboard sleeve.

I repeated this step six times total for each chandelier arm. I fed the wire through the arms up to the top of the chandelier. I twisted all of the neutral wires together, and all of the hot wires together. Then I took the 7th neutral wire (on the longest wire with the plug still attached) and twisted it around the other 6 wires. I then used a plastic wire connector (red) and twisted it on all of the neutral wires.

I repeated this step with the hot wires, so all of the wires (hot and neutral) were connected and contained in the plastic wire connectors.

I then taped up the connections really good with black electrical tape to make sure no wires were exposed and that no wires would fall out of the wire connectors.

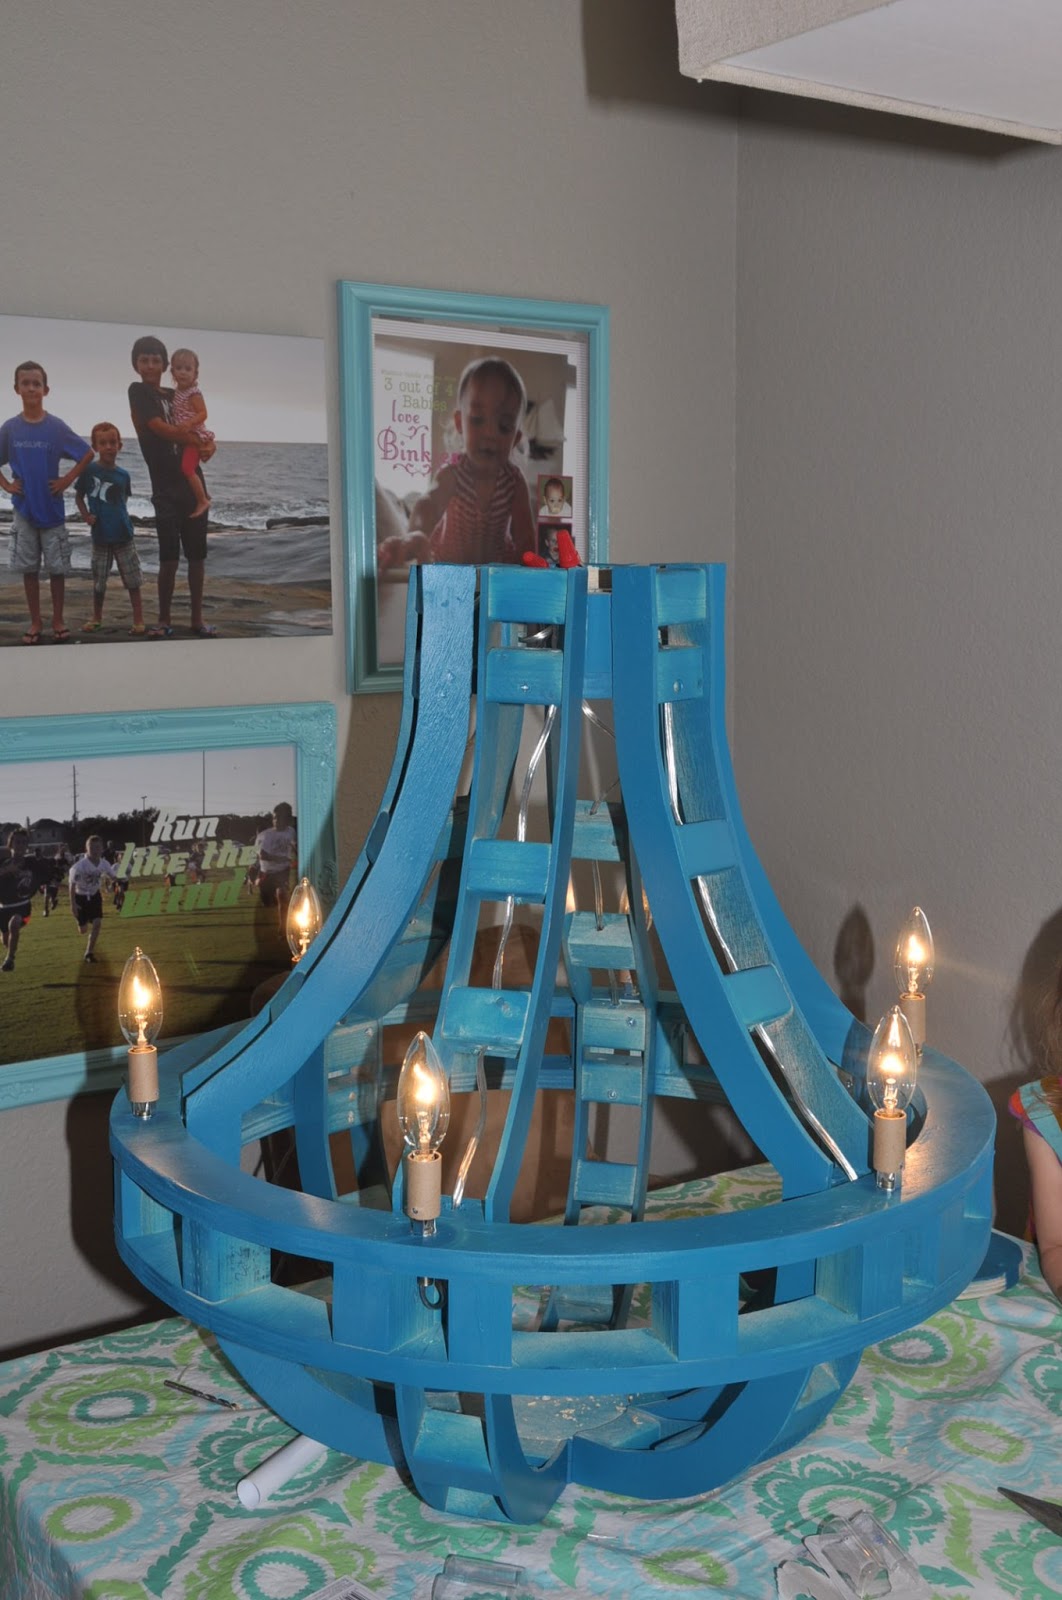
I used the plug still attached to the 7th wire and plugged it into an electrical outlet to check to see if it worked, and it did! All of my hot and neutral wires were connected properly. No smoke, no fire. :-)
You are really brilliant.http://https://www.youtube.com/watch?v=MiY41ijpzuI
ReplyDeleteso it wouldn't have worked for us to install such a wide chandelier in that same spot. tropical chandeliers lights
ReplyDeleteThis is not unreasonable, as electrical fires can quickly turn an old home into a major disaster. Residential electricians in Calgary are no strangers to this, and they are a good resource for homeowners who find themselves in this predicament.electricians in voorhees nj
ReplyDeleteSuch a great blog and all the writings. Can’t help thinking about the author.
ReplyDeletevikings armbands
Thanks for this great post, i find it very interesting and very well thought out and put together. I look forward to reading your work in the future. foyer chandelier
ReplyDeleteTherefore, you will get get} a total value of about $1.32 just for signing up and making a small deposit. You can discover many other promotions on the cashier web page and compare completely different presents to get the best deal attainable. Overall, Las Atlantis stands out for its fun theme and massive selection of varied free spin bonuses and deposit bonuses. Once you utilize up your 50 free spins on Wild Hog Luau, they nonetheless have 1xbet korean a solid lineup of other traditional on line casino games. Super Slots has a desktop program you'll be able to|you probably can} download, so you don't have|you don't have} to log into your browser to play every time. We also appreciated their cell on line casino that you can use use|you need to use} to entry many of the games on the go.
ReplyDelete