recent posts

Sunday, December 29, 2013

2 It's Friday I'm In Love -- Scrapbook Paper Wall Art

If you haven't noticed, I'm kinda re-doing my Master bedroom (or maybe doing it in the first place?), one piece at a time. I made a bed, and some bedding to go with it. My husband said, "we really need something on that wall." I agreed, it was always in the plan...but once he pointed it out, I really wanted something there. And then I got an idea, and I couldn't stop until my idea was complete.


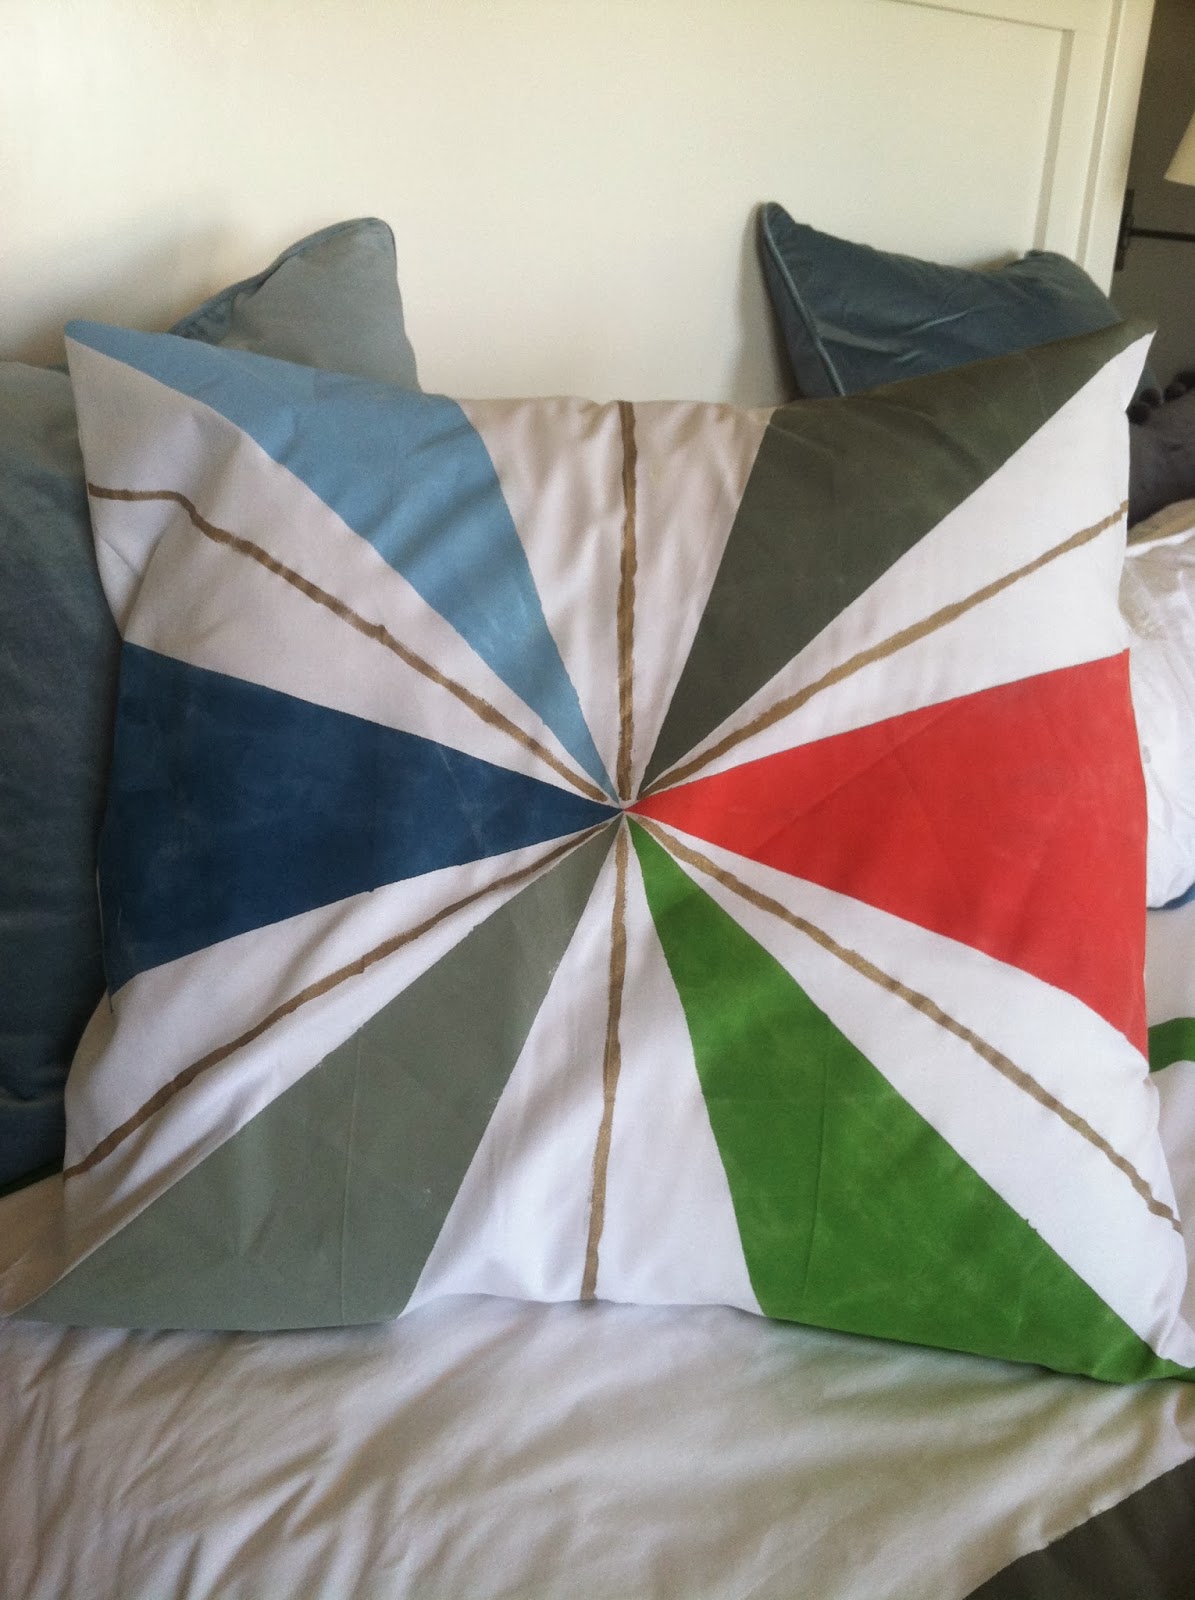
I had this picture above my bed a couple of houses ago, and it's a big one--about 40" x 40". I really liked the picture and it went with my paint and bedding, but it no longer worked with my color scheme. 


The picture has been sitting behind a sofa in my bedroom since we moved in. I thought, "the space is big on the wall, the picture is big, why don't I reuse that picture somehow?". I know, pure genius in action. ;-)


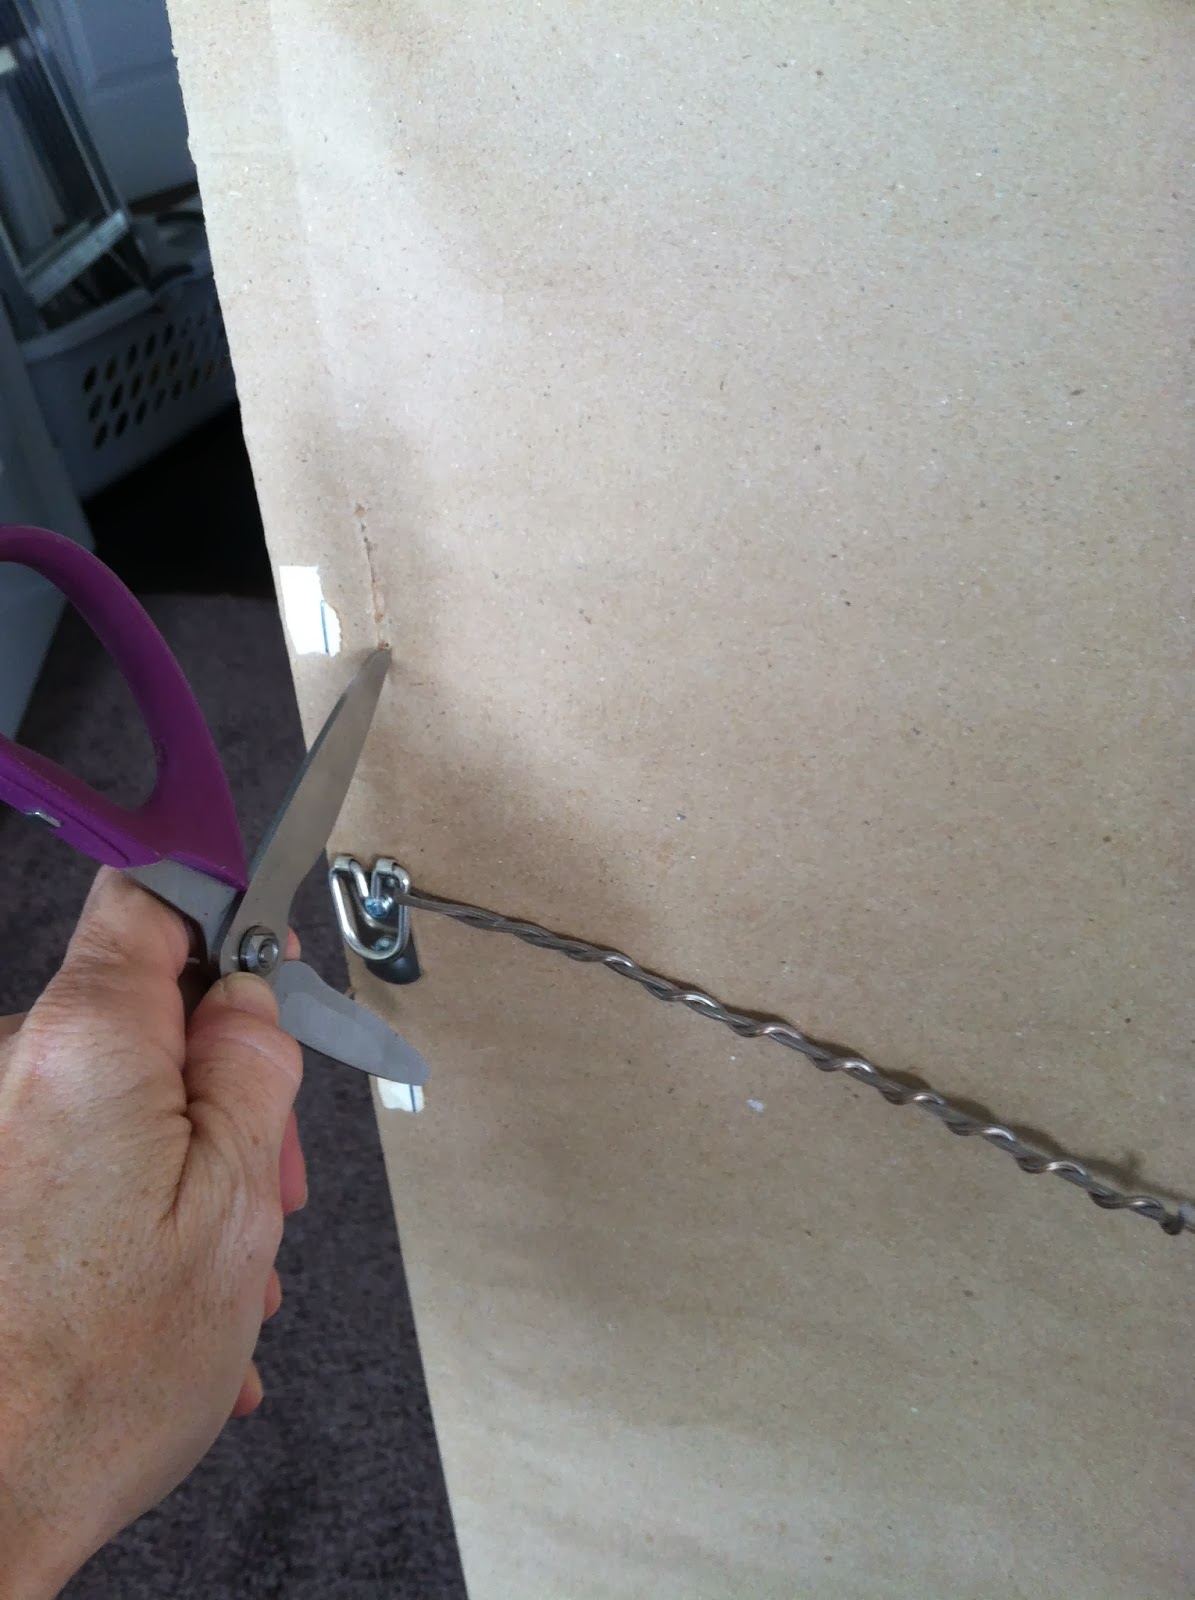
I removed the backing from the picture. It was a really nice professionally-done framing job, which meant dust protection on the back and lots and lots of staples.


But what to put in the frame? I had been toying around with using the title from "our song": It's "Friday I'm in Love, by the Cure". I know that dates us, now you know how old we are. 

Also I pinned the back of this chair on Pinterest, the gradation of color has always fascinated me:


I knew I wanted to do something like that for a project, and here was a project needing something so, BAM! Match made in project heaven.

First I went to the craft store and bought a bunch of square scrapbook paper in the colors I wanted to use. I also happened to buy another craft punch (love these!) in the shape of a 2" circle. All of these things were 50% off so my grand total investment was $20.


It took me about an hour to punch out all of the circles, which my 4-year-old daughter put in little piles for me. She loves to be my assistant.


I started randomly lining up the circles on foam board, starting with darker colors at the bottom.


I decided pretty quickly that although I liked the colors, I didn't like all the white in the background. So I started to experiment with squishing the circles together.


I discovered a pattern that I liked; kind of like a cloverleaf where one side of each circle overlaps the next side. I then taped the back of each cloverleaf.


I could tell this project was getting to complicated for the floor, so back to the ping pong table!


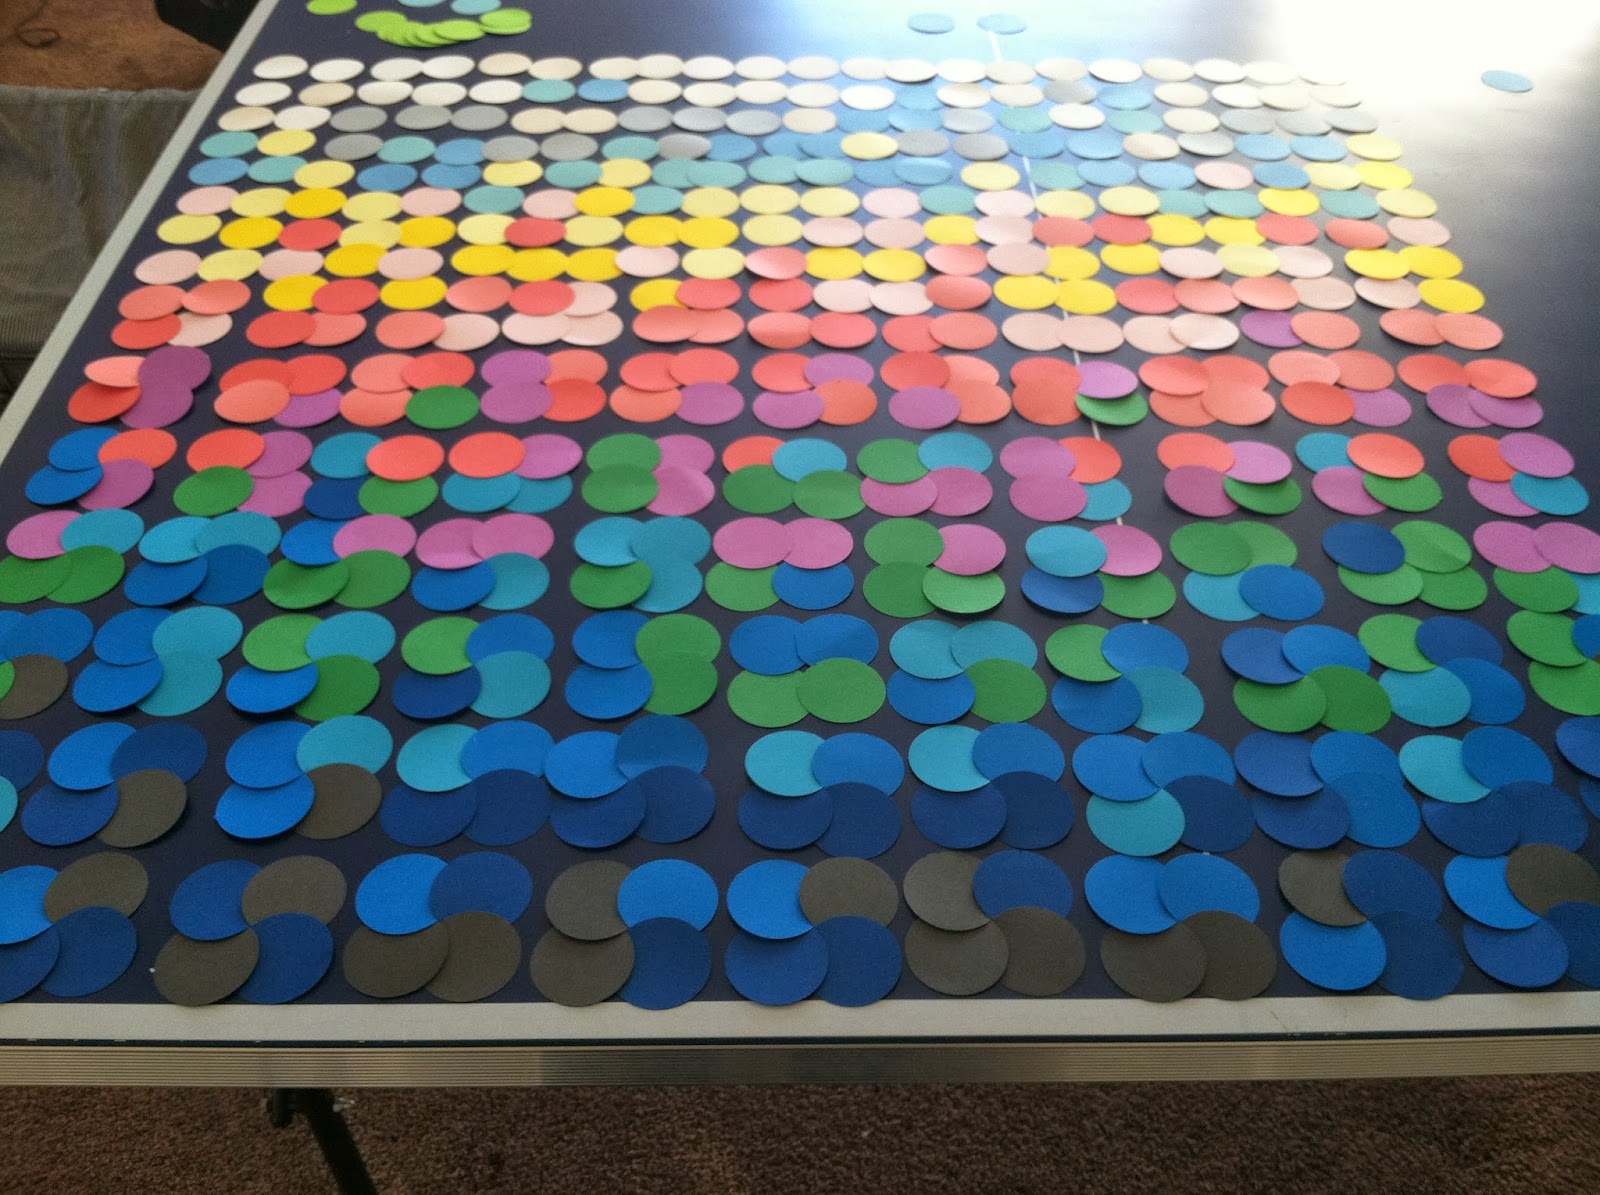
I continued to line the colors up to the top, going back and making my little clovers and taping them on the back until I was finished.


I then started gluing the clovers to the board with a glue stick; starting with the bottom row and side row to get the spacing right. I overlapped the clovers the same way as each clover, so that every row the circles went on top of each other the same way.


Until I was all done!


I purchased some letters in vinyl from an online retailer, the capitals being 4" high. I placed them on the paper, and I was a little nervous that the vinyl would tear the paper circles, but it stuck beautifully.


Now to deal with the black frame. I wanted it white. So, out comes my beloved spray paint! Whenever I spray paint a frame that was custom framed I always leave the glass in. This is because if you are lucky enough to get the glass out of the frame without breaking it, you will probably break it when you try and get it back in. Trust me, I've broken my fair share of glass.

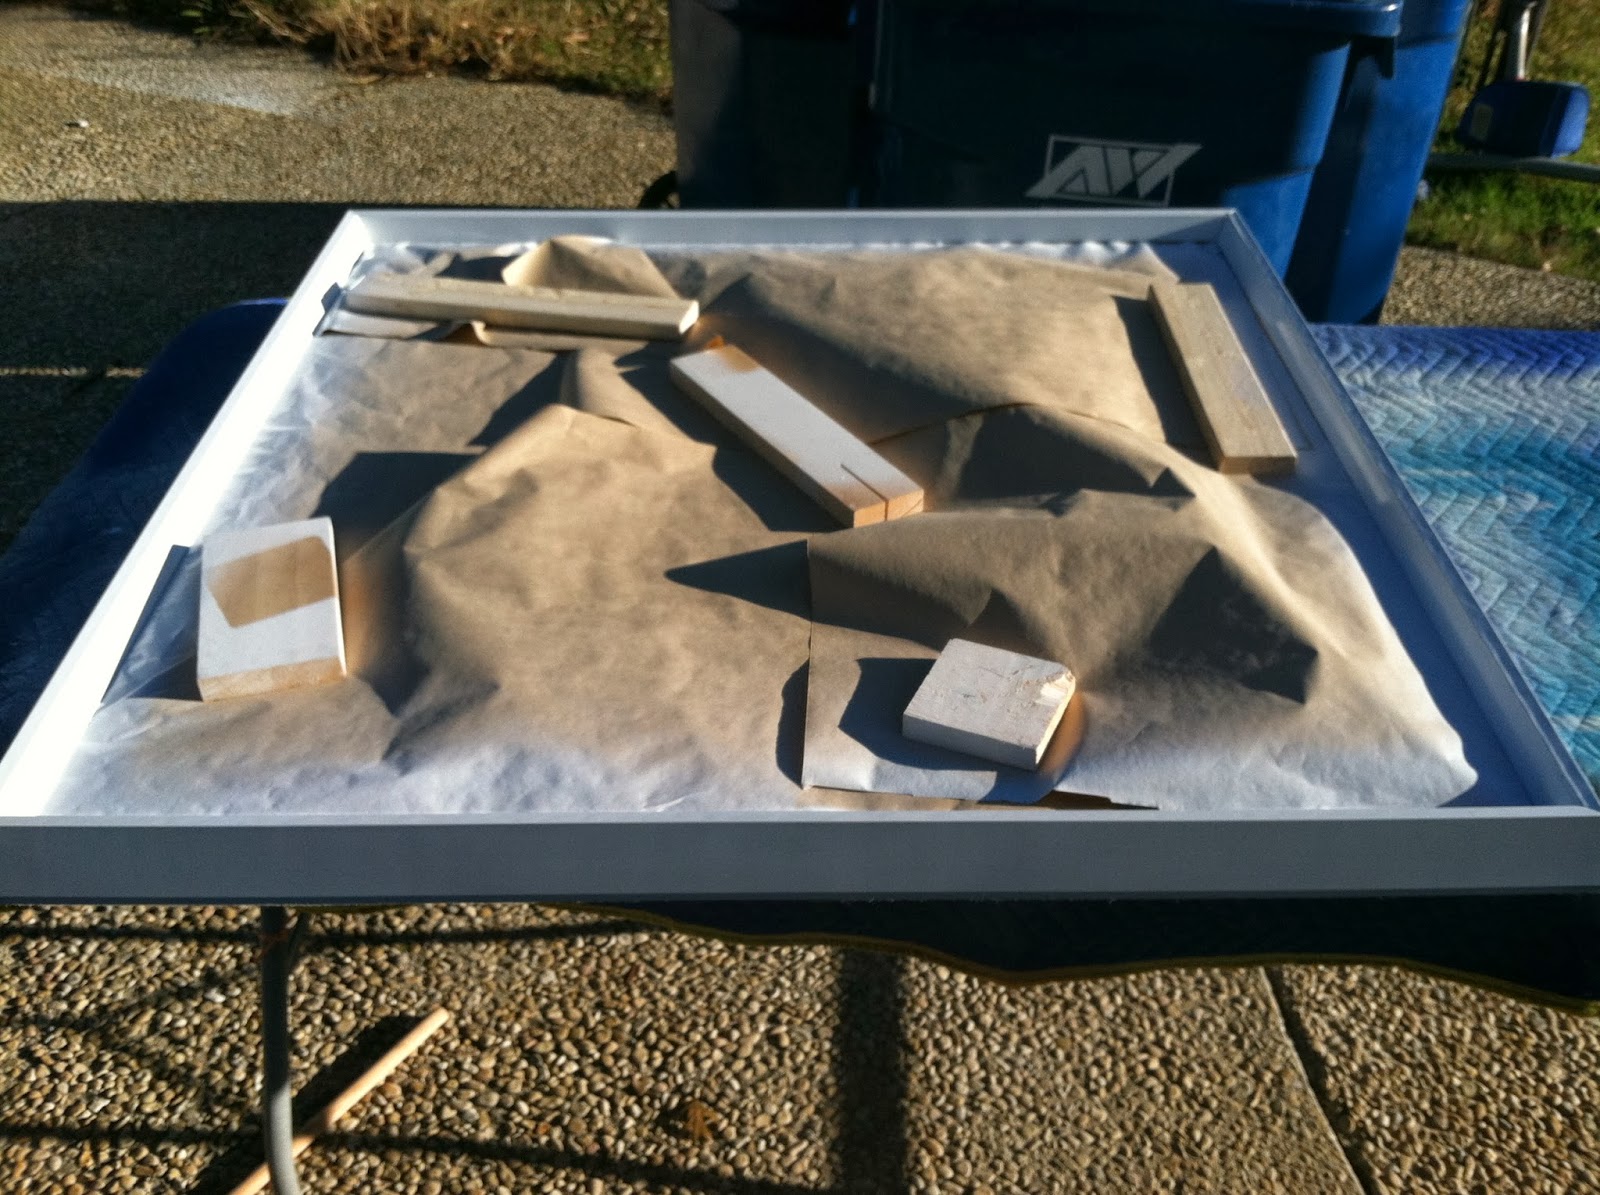
So when you set up the frame (with glass) to spray paint, you have to support the glass off of the surface you are spray painting. I used scrap 4 x 4 and 2 x 4 pieces of wood. The frame will hang on the glass. 


I used roll of painter's paper and carefully slipped the paper between the glass and the frame. I secured the paper to the glass by using more scrap wood as weight.


I lightly sanded all the way around and inside the frame so that the paint would adhere better to the frame.


It only took a few light coats and of glossy white paint and about 20 minutes to turn this black frame white.


I reassembled the frame with the glass, mat board, and my paper creation. When I went to get the cardboard backing, I found this artwork:


If I leave any large open surface in my house for any amount of time, my assistant adds her special touches to my project. Here is the final piece hung on the wall of my bedroom:


I do love this new piece, and I smile when I look at it every day. Sometimes I sing these totally appropriate lyrics of one of my favorite songs: 

"Monday, you can hold your head
Tuesday, Wednesday stay in bed
Or Thursday watch the walls instead
It's Friday I'm in love"

So now I have something to watch on the walls, from my bed. While holding my head. And not just on Fridays!

jennifer
This post is linked to Remodelaholic and Tatertots and Jello.

Monday, December 23, 2013

0 The Easiest Way to Sew a Sham (and paint it too!)


I have sewed many-a-pillow in my life: pillows with piping and trim, bolsters, cushions, you name it. I have discovered the easiest way to make a pillow or sham with a removable cover so it can be removed for washing. And it does not involve zippers, thank you very much!


For this project, I wanted a sham to match my newly painted duvet cover, so I had to paint it first. This sham is Euro size (26" x 26"), so I cut my fabric 27" x 27", to allow a 1/2" seam allowance all the way around the pillow.

I placed the square piece of fabric on plastic.


Since I was making a pinwheel design on the pillow, I ironed some creases in the fabric to show center and also thirds going up and down the square.


I taped off my first triangle to the center and taped it.


Then painted it.


I continued all the way around the fabric, using the creases as guides.


I added some had-painted gold stripes between the triangles of color, let it dry, and then heat set the fabric, the same way as the duvet cover. I then washed it in cold with the duvet cover and let it air dry.


It washed up perfectly!

To make the pillow cover, you will cut two pieces of fabric for the back the same height as the pillow front, and each piece needs to be approximately 2/3 the width of the pillow width.


Press the inside edge of the fabric, rolling it over twice and sewing along the seam creating a nice clean edge for the pillow "pocket".


Place the front of the sham on a flat surface with the right side of the fabric facing up. Line up the two back pieces with the right side inside (facing the front of the sham), overlapping them. The edges of the pack pieces should line up with the edge of the sham front.


Pin the outside edges of the sham, trimming any extra fabric so they are the exact same size.


Sew all four sides, all the way around, like a box. Trim the corners so that when you turn the sham inside out you will have a nice crisp corner.


Turn inside out, and press the seams.


Slide in the insert and you will have a perfect sham with crisp edges, every time! And if you need to remove the insert to wash the cover, it's super easy.


I've used this method many times, and it always works beautifully!
jennifer


Thursday, December 19, 2013

14 Hand Painted Duvet Cover

I built a new bed, and painted it bright white. My old duvet cover was ivory. I belong to the "don't mix white and ivory" club. So as I was finishing my bed, I knew it would need a new duvet cover, so I made this one:
If you're like me, you have things in your head that you want to find, but never can. Fabric, accessories, color combinations--you name it. Also if you are like me, I am sorry for you, because you have a crazy head full of crazy ideas. Ideas that you feel compelled to bring to fruition.
I decided on a color scheme for my bedroom that was a little random:
Dark denim blue, coral, grass green, gold, gray...no way was I going to find those colors together in anything. So what's a girl to do? Create her own! I was inspired by Mandi at Vintage Revivals when she created this art piece for a friend and fellow blogger, Maskcara.
I liked how she off-centered the pinwheel. I decided I wanted something like that for my duvet cover, but big shock, it doesn't exist. So what's a girl to do? Make her own, that's what! I bought a cheap white king sized duvet cover from Target, this one:
It was only $35, and it was in the store. I figured if I messed it up, $35 was not the end of the world. Although it is thin, it did wash up with very few wrinkles, which I like. You have to be sure and pre-wash the cover to remove any sizing in the fabric.
I made a template that showed the colors and pattern of what I was going for. I made it in Adobe Illustrator, but I'm sure you could do the same with Photoshop, or even easier, a piece of paper and colored pencils or crayons.
I didn't want to compromise on the shades of color that I picked, so I just used regular latex from Home Depot. Some colors I had already, some I bought samples of. I mixed each paint color 2 parts paint to 1 part Martha Stewart Fabric Medium, available at Joanne's.

It's kinda messy.
I found the largest flat surface I had in the house, which happened to be a ping-pong table, and spread the duvet cover out. My printer ran out of ink so my template was all blue, but you get the idea.
I marked where I wanted the center of the pinwheel with green frog tape.


You need to line the duvet with plastic sheeting (available in paint section at Home Depot) at this point. If you don't, the paint will seep from layer through layer and will make your duvet stick together, and stick to the surface too. I trimmed the plastic to a little larger than the cover and pinned the edges of the duvet through the plastic to keep it into place.
 I love duvet covers, I hate putting duvets in them. I feel like it's a one-on-one wrestling match that always ends with a score of Duvet Cover 1, Jen 0. This goes double for plastic. But it's still very important to get it in there and to the edges. It will bleed through, not the end of the world if it does in some spots, but you want to avoid as much as you can. 
I taped of the top half of the duvet cover, making sure to run my fingers along the inside edge of the tape to make a super-tight seal to the cover.
I followed my design and added the paint/fabric medium mixture to each section.

Where I had sections of paint against each other, I carefully painted against the existing color with a small detail brush, and then filled in the rest of the section with a larger brush. The gold shimmers in the light!


Top section, done!

I then did the bottom left quarter, and then bottom right corner, taping off and painting one section at a time. It was a large piece and at times difficult to maneuver the tape into the right direction, but as long as the tape lays flat and tight against the fabric, you are ok if the cover is bumpy and wrinkling.

I finished all of the painting and pulled the tape. Most of the edges were crisp, but where I had a little bleed through the tape I just went over with white paint.


When the paint was completely dry, I set my iron on the second-to-hottest setting (with NO STEAM) and heat set all of the paint. This is necessary if you want to wash the duvet. Which you do, trust me. With my four kids hopping around on the bed I will be washing this baby all the time. And then wrestling the duvet back into the cover!


I then washed the duvet inside-out on cold and let it air-dry. The fabric dried really quickly, and looked great. No paint loss at all.

I love how it turned out!


I also painted a matching Euro sham. For the next post I will give the tutorial on how to easily sew any size sham or throw pillow. Happy duvet cover painting/wrestling!
jennifer

This post is linked to Remodelaholic!